Sealcoating 101: Everything You Need to Know
Sealcoating is a protective layer applied to asphalt pavements, including driveways, parking lots, and roads. The purpose of sealcoating is to prevent water, oil, and other substances from penetrating the surface of the pavement, leading to cracks and other damage. Sealcoating can also enhance the appearance of asphalt surfaces by restoring their original color and making them look brand new.
If you're looking for sealcoating services, there are several things to consider before hiring a contractor. In this article, we'll discuss the benefits of sealcoating, the process of sealcoating, and some tips for choosing the right sealcoating contractor.
Benefits of Sealcoating
Sealcoating provides numerous benefits to asphalt surfaces. It prevents the oxidation and erosion of the asphalt binder caused by exposure to ultraviolet rays and other elements. It also fills in small cracks and voids, reducing water penetration and keeping the pavement's structural integrity intact.
Additionally, sealcoating provides an attractive, uniform appearance to your pavement, which can enhance your property's curb appeal. Sealcoating also makes it easier to clean and maintain your pavement, as it provides a smooth surface that is less likely to accumulate dirt and debris.
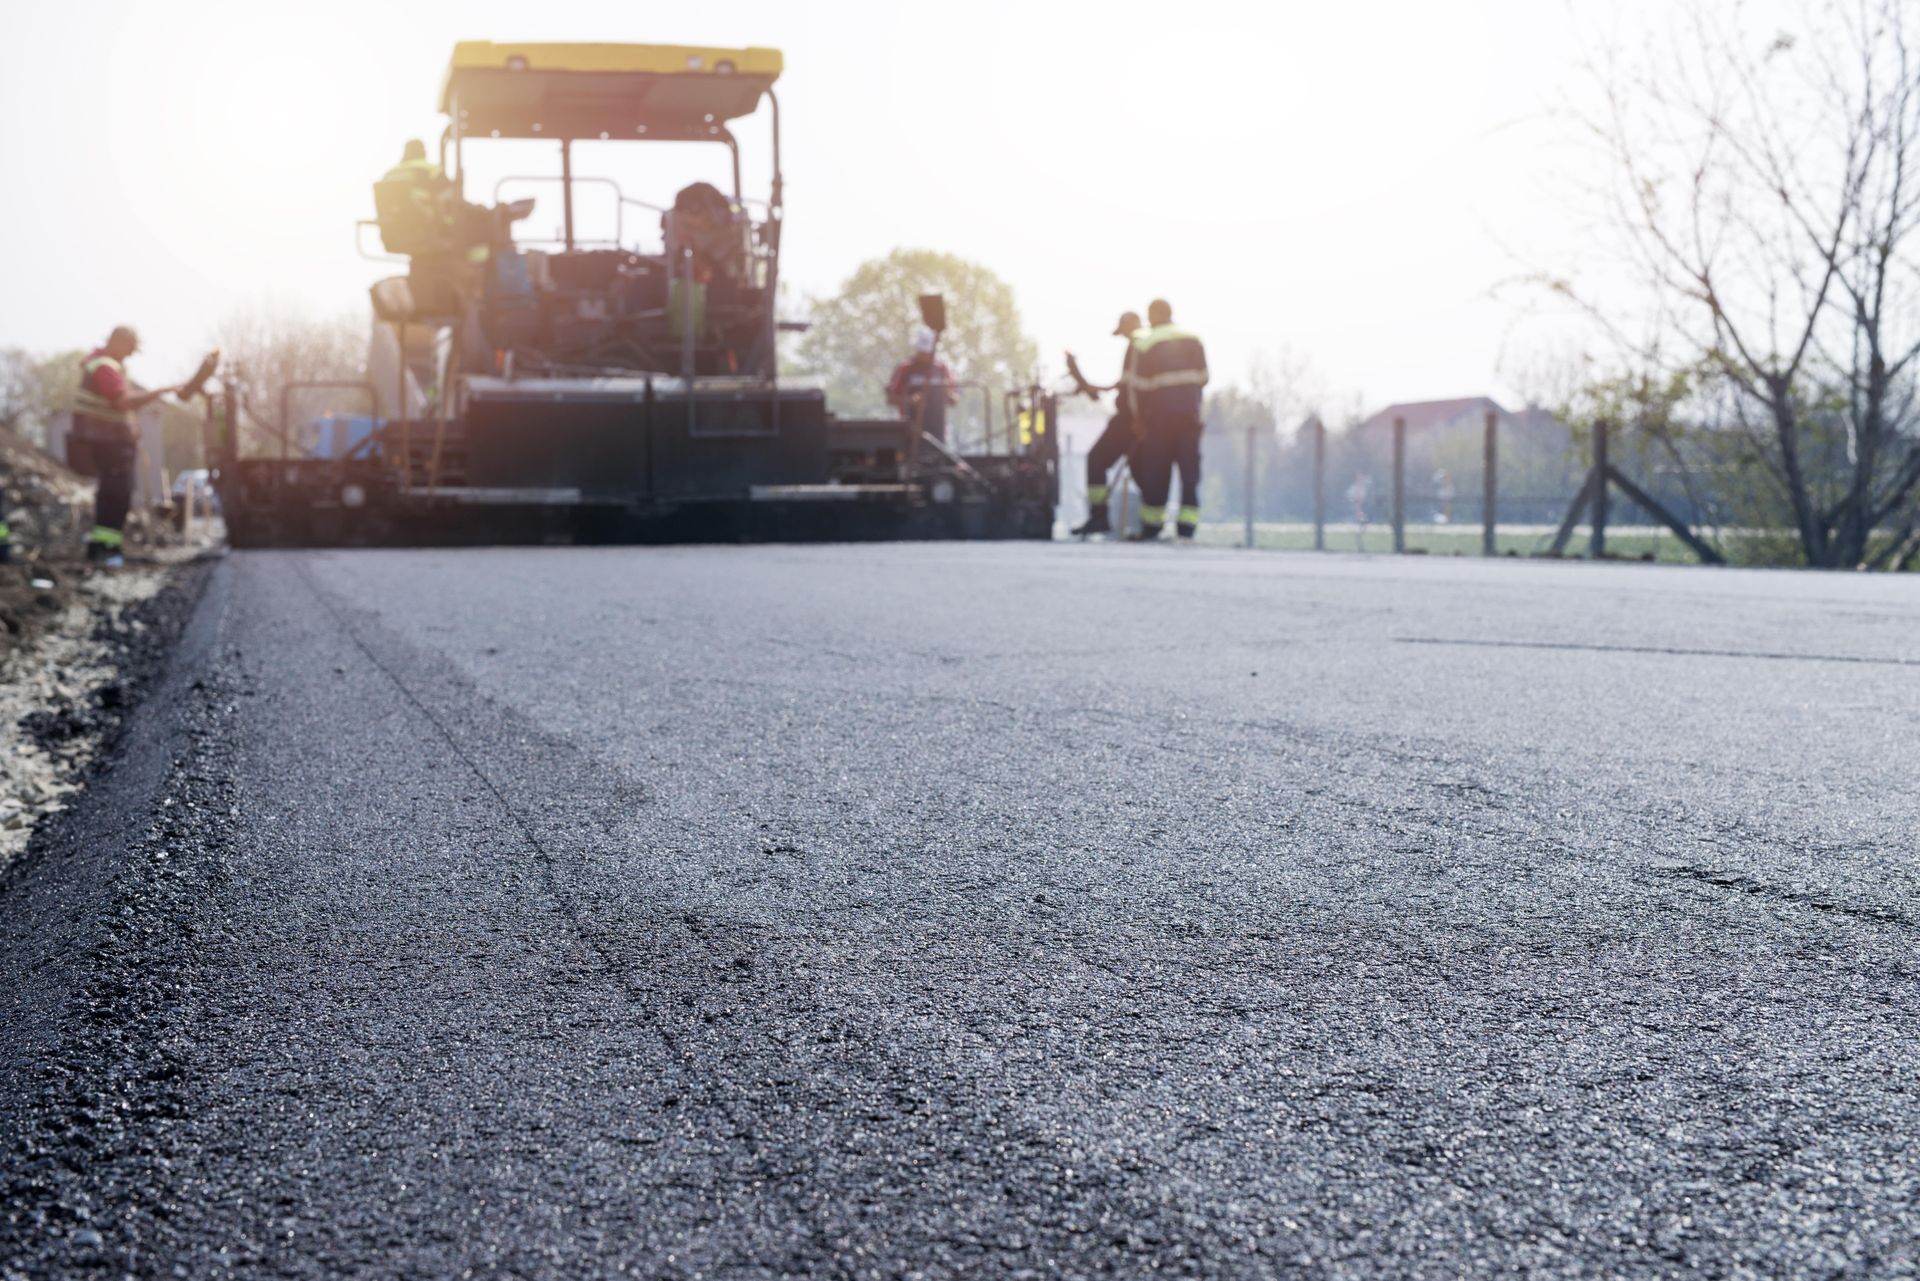
Sealcoating Process
Sealcoating is a relatively simple process that can be completed within a day, depending on the size of the area to be coated. The process involves several steps, including:
Cleaning the pavement: The first step in the sealcoating process is to clean the pavement thoroughly. This includes removing any dirt, debris, and loose asphalt or sealant.
Preparing the surface: Once the pavement is clean, the surface is prepared by filling any cracks or voids with a filler material. This is done to ensure that the sealcoat adheres properly to the surface and provides maximum protection.
Applying the sealcoat: The sealcoat is then applied to the pavement using a spray or squeegee. The sealcoat material is typically made of coal tar pitch, asphalt emulsion, or acrylic polymer. The material is then spread evenly over the surface, ensuring that all areas are covered.
Curing:
After the sealcoat is applied, it needs to cure before the pavement can be used again. The curing time depends on the weather conditions, with warmer temperatures allowing for quicker drying times.
Choosing the Right Sealcoating Contractor
When it comes to sealcoating services, choosing the right contractor is critical. Here are some tips to help you find the right contractor:
Check for licensing and insurance: Make sure the contractor is licensed and insured. This will protect you in case of any accidents or damage that may occur during the project.
Look for experience: Choose a contractor with extensive experience in sealcoating. An experienced contractor will be able to provide you with high-quality work and ensure that your pavement is protected for years to come.
Get references: Ask the contractor for references and take the time to follow up on them. Contact previous clients and ask about their experience working with the contractor.
Get multiple quotes: Don't settle for the first contractor you come across. Get multiple quotes from different contractors and compare them to find the best price and quality.
Ask about the process: Make sure you understand the sealcoating process and ask the contractor to explain it to you in detail. A good contractor will be able to explain the process clearly and answer any questions you may have.
How to Sealcoat a Driveway?
Sealcoating a driveway is a great way to protect and maintain its appearance. It's a relatively simple process that can be done by homeowners, but it's important to do it correctly to ensure the best results. In this article, we will discuss how to sealcoat a driveway, including the tools you need, the steps to follow, and some tips for getting the best results.
Tools You Need for Sealcoating a Driveway
Before you start sealcoating your driveway, you need to gather the necessary tools and materials. Here are the things you will need:
- Cleaning solution: You can use either a commercial driveway cleaner or a solution of bleach and water (1:9 ratio).
- Scrub brush or broom: You will need this to scrub the driveway and remove any debris or dirt.
- Pressure washer: This is optional, but it's a great tool to have to thoroughly clean the driveway.
- Crack filler: You will need this to fill any cracks or gaps in the driveway surface.
- Sealcoat: This is the main material you will use to coat the driveway surface.
- Squeegee: This tool will help you spread the sealcoat evenly on the driveway.
- Paint roller: A paint roller is useful for applying the sealcoat to hard-to-reach areas.
- Gloves and safety goggles: To protect your skin and eyes during the process.
Steps to Follow for Sealcoating a Driveway
Now that you have gathered the necessary tools, you can start the process of sealcoating your driveway. Here are the steps to follow:
Step 1: Clean the Driveway Surface
The first step is to clean the driveway thoroughly. You can use a commercial driveway cleaner or a solution of bleach and water to clean the surface. Scrub the driveway surface with a scrub brush or broom, and then rinse it with water. You can also use a pressure washer to clean the driveway more thoroughly.
Step 2: Repair Cracks and Gaps
Once the driveway is dry, check for any cracks or gaps in the surface. If you find any, fill them with crack filler and let it dry for at least 24 hours.
Step 3: Apply the Sealcoat
Now, you're ready to apply the sealcoat. Start by pouring the sealcoat onto the driveway surface, then use a squeegee to spread it evenly. Work in small sections and apply the sealcoat in thin layers. It's better to apply multiple thin layers rather than one thick layer. Use a paint roller to apply the sealcoat to hard-to-reach areas.
Step 4: Let it Dry
Once you have applied the sealcoat, let it dry for at least 24 hours before walking or driving on it. If you have applied multiple layers, let each layer dry before applying the next one.
Tips for Getting the Best Results
- Choose the right day: The temperature should be at least 50 degrees Fahrenheit, and there should be no rain in the forecast for at least 24 hours.
- Don't rush: Take your time and follow the steps carefully to get the best results.
- Apply multiple thin layers: It's better to apply multiple thin layers rather than one thick layer. This will help the sealcoat dry faster and provide better protection.
- Protect surrounding areas: Use plastic sheeting or other materials to protect nearby plants, walls, and other surfaces from the sealcoat.
- Clean your tools: Clean your tools with water and soap immediately after use to prevent the sealcoat from drying on them.
In conclusion, sealcoating is an essential maintenance practice for asphalt surfaces, such as driveways, parking lots, and roads. It helps to protect the pavement from the elements, fill in small cracks and voids, and enhance its appearance. If you're planning to hire a sealcoating contractor, ensure they are licensed, insured, and have extensive experience in the field.
For homeowners who prefer to sealcoat their driveways themselves, it's essential to follow the correct process to achieve the best results. The process involves cleaning the surface, repairing any cracks or gaps, and applying the sealcoat in thin layers. With the right tools and materials, homeowners can successfully sealcoat their driveways and ensure their pavement is protected for years to come.
At the end of the day, it's important to remember that sealcoating is not a one-time fix but rather a regular maintenance practice. It's recommended to have your pavement sealcoated every two to three years, depending on the level of wear and tear. By doing so, you'll be able to extend the lifespan of your pavement and save money in the long run.
So, whether you
plan on hiring a sealcoating contractor or doing it yourself, make sure you understand the sealcoating process, and take the necessary steps to protect your asphalt surface. By following the tips outlined in this article, you'll be able to ensure your pavement stays in top condition for years to come. So, don't wait any longer, and schedule your next sealcoating service today to protect your driveway and enhance its curb appeal.
